
Twitter Image Cards using Browsershot from Spatie
Published Tuesday May 26, 2020
I'm not super concerned about personal branding. I have a good job and I'm not on a quest to create a course or a commercial package. I don't really care about engagement at all except to the extent that I think what I write here can be helpful. My process for deciding what to write is pretty easy. If I ask Google a question and don't see a good answer on the front page, I assume there's a gap in the knowledge base and I aim to close it.
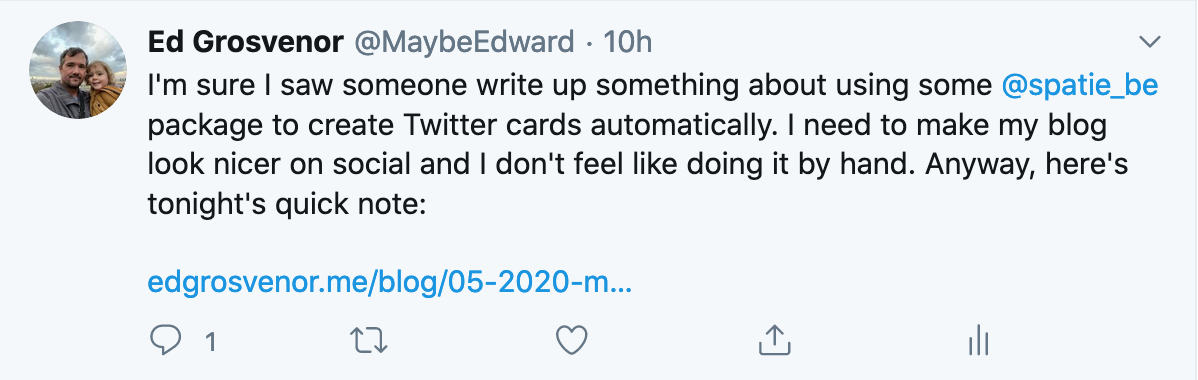
So late last night I posted a little article about sharing a single RDS instsance among multiple databases on Vapor and I shared it to Twitter. The tweet just included a link. It didn't stand out at all and I asked for a little help.
By contrast, when Freek replied to it with a link to an article he'd written on the topic, a big attention-grabbing image appeared:
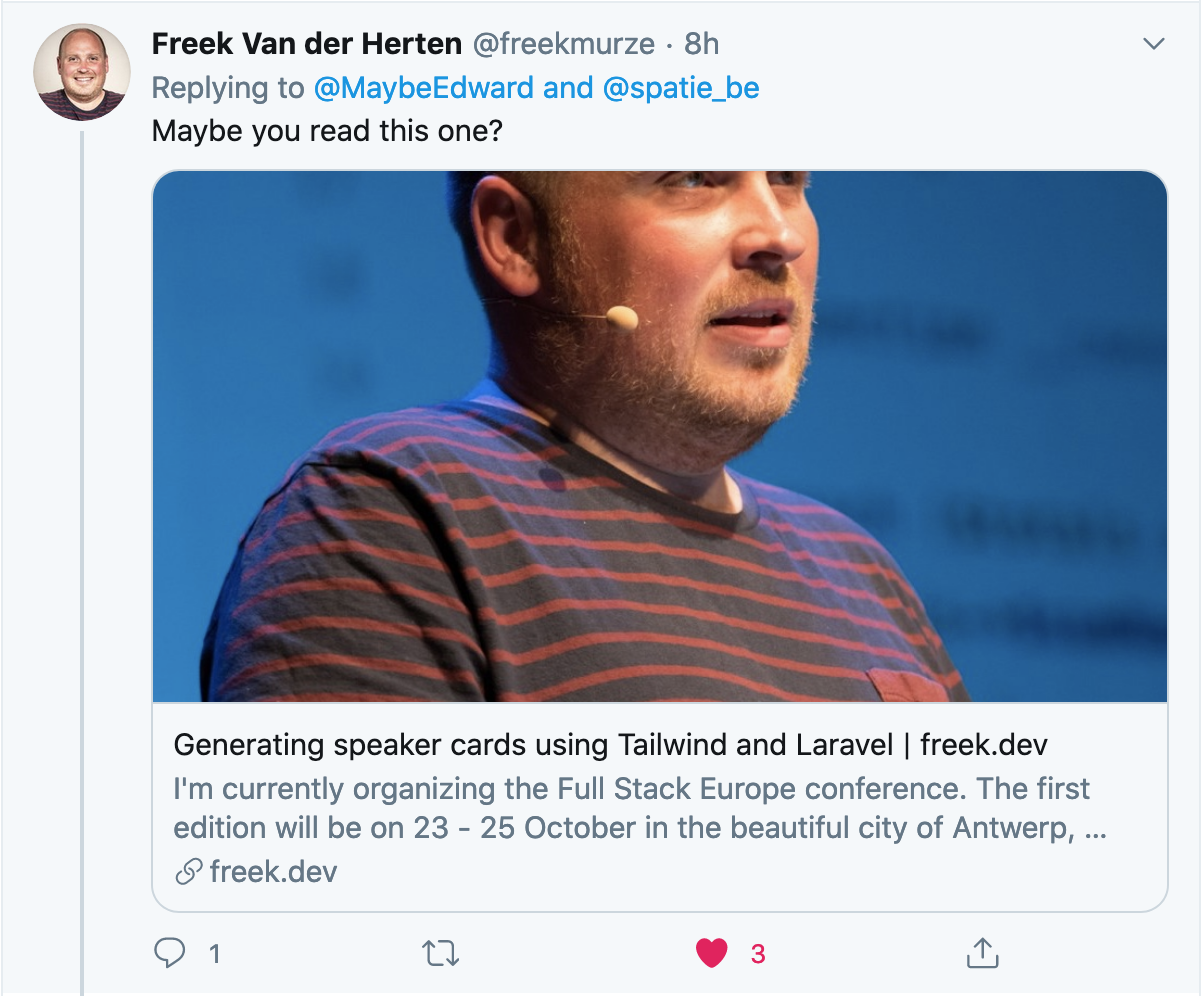
That wasn't the article I was thinking of, but it set me on the right course. A quick glance at Browsershot (I've used it before but it's been a while) was enough to know it was the solution I was looking for.
Route::get('/twitter_card/{article}', TwitterCard::class);
The first thing I did was set up a new controller, route, and template to create an HTML version of the twitter card. It uses the same YAML front matter that my article templates use (my blog is file-based markdown) and since I use Tailwind CSS, it was stupid simple to get a card template set up.
class TwitterCard
{
    public function __invoke(string $article)
    {
        abort_unless(File::exists(resource_path('blog/' . $article)), 404);

        $md = YamlFrontMatter::parse(File::get(resource_path('blog/' . $article)));

        abort_unless($md->matter('published_at') || config('app.env') !== 'production', 404);

        return view('twitter_card', ['fm' => $md->matter(), 'content' => Markdown::parse($md->body())]);
    }
}
<div id="card" class="bg-white overflow-hidden" style="width: 1024px; height: 512px;">
    <div class="relative py-12 px-8 sm:px-6 lg:px-8">
        <nav class="relative flex items-center justify-between sm:h-10 lg:justify-start">
            <div class="flex items-center flex-grow flex-shrink-0 lg:flex-grow-0">
                <div class="flex items-center justify-between w-full md:w-auto">
                       <img class="h-12 w-auto rounded-full"
                            src="https://pbs.twimg.com/profile_images/1222189979151093760/YuJd1bK1_400x400.jpg"
                            alt=""/>
                </div>
            </div>
            <div class="md:ml-10 md:pr-4">
                <h2 class="font-bold text-2xl">{{ $fm['title'] }}</h2>
                <div class="text-gray-500 pt-2">{{ \Carbon\Carbon::parse($fm['published_at'])->format('F j, Y') }}</div>
            </div>
        </nav>
    </div>
    <div class="text-center">
        <img src="{{ cloudinary($fm['cloudinary'], 'hero') }}" alt="" class="w-full rounded-sm">
    </div>
</div>
(new CreateTwitterCard())->execute($request->url())
The next question I had to answer was how to trigger Browsershot to actually capture the image. I could have followed Freek's lead and created an Artisan command. But since I'm not doing a batch of images like he did but rather generating a new image for each new article, a command felt heavy handed. So I just reached into the article method of my blog controller and added a check for a request parameter that, if set, would trigger an action to create the image.
if ($request->has('card') && config('app.env') === 'local') {
    (new CreateTwitterCard())->execute($request->url());
}
class CreateTwitterCard
{
    public function execute($url)
    {

        $article = last(explode('/', $url));

        $screenshot = Browsershot::url('http://me.test/twitter_card/'.$article)
            ->setIncludePath('$PATH:/usr/local/bin')
            ->setScreenshotType('jpeg')
            ->select('#card')
            ->deviceScaleFactor(1)
            ->windowSize(1024, 512)
            ->screenshot();

        Storage::disk('s3')->put('twitter_cards/'.$article.'.jpg', $screenshot, 'public');
    }
}
I'll always run this on my local machine since Browsershot requires node and Vapor (where this site lives) is a no-node zone. So I just hard-coded the paths to correspond to my MBP's setup. Now when I want to create a card for this article, I just visit http://me.test/blog/05-2020-twitter-image-cards-using-browsershot.md?card=1 and the card is generated, shipped off to S3, and is ready for action. The meta tags that load the Twitter card and other social data are loaded automatically in my article template:
@section('head')
    <meta name="twitter:card" content="summary_large_image">
    <meta name="twitter:site" content="@MaybeEdward">
    <meta name="twitter:creator" content="@MaybeEdward">
    <meta name="twitter:title" content="{{ $fm['title'] }}">
    <meta name="twitter:description" content="{{ $fm['description'] }}">
    <meta name="twitter:image" content="https://edgrosvenor-me-local.s3.amazonaws.com/twitter_cards/{{ $fm['file'] }}.jpg">
@endsection
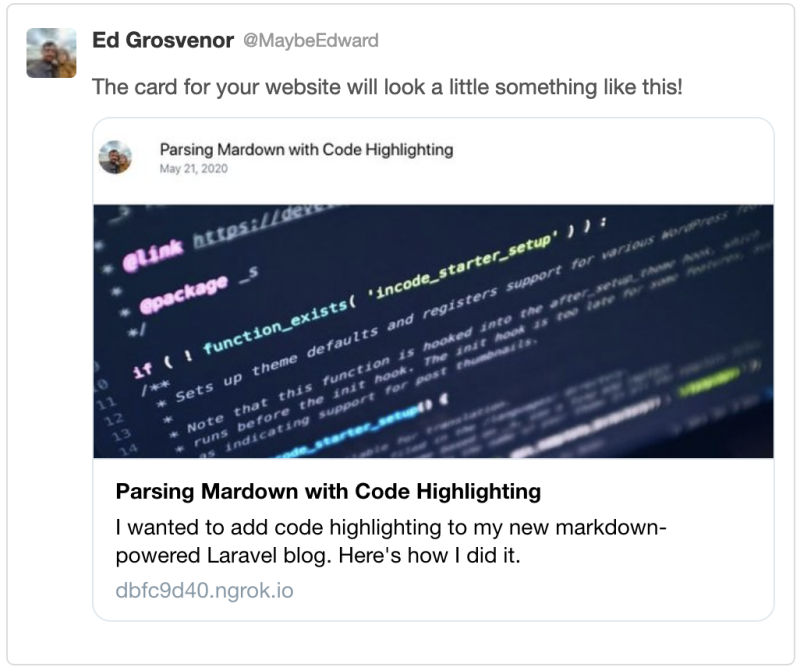
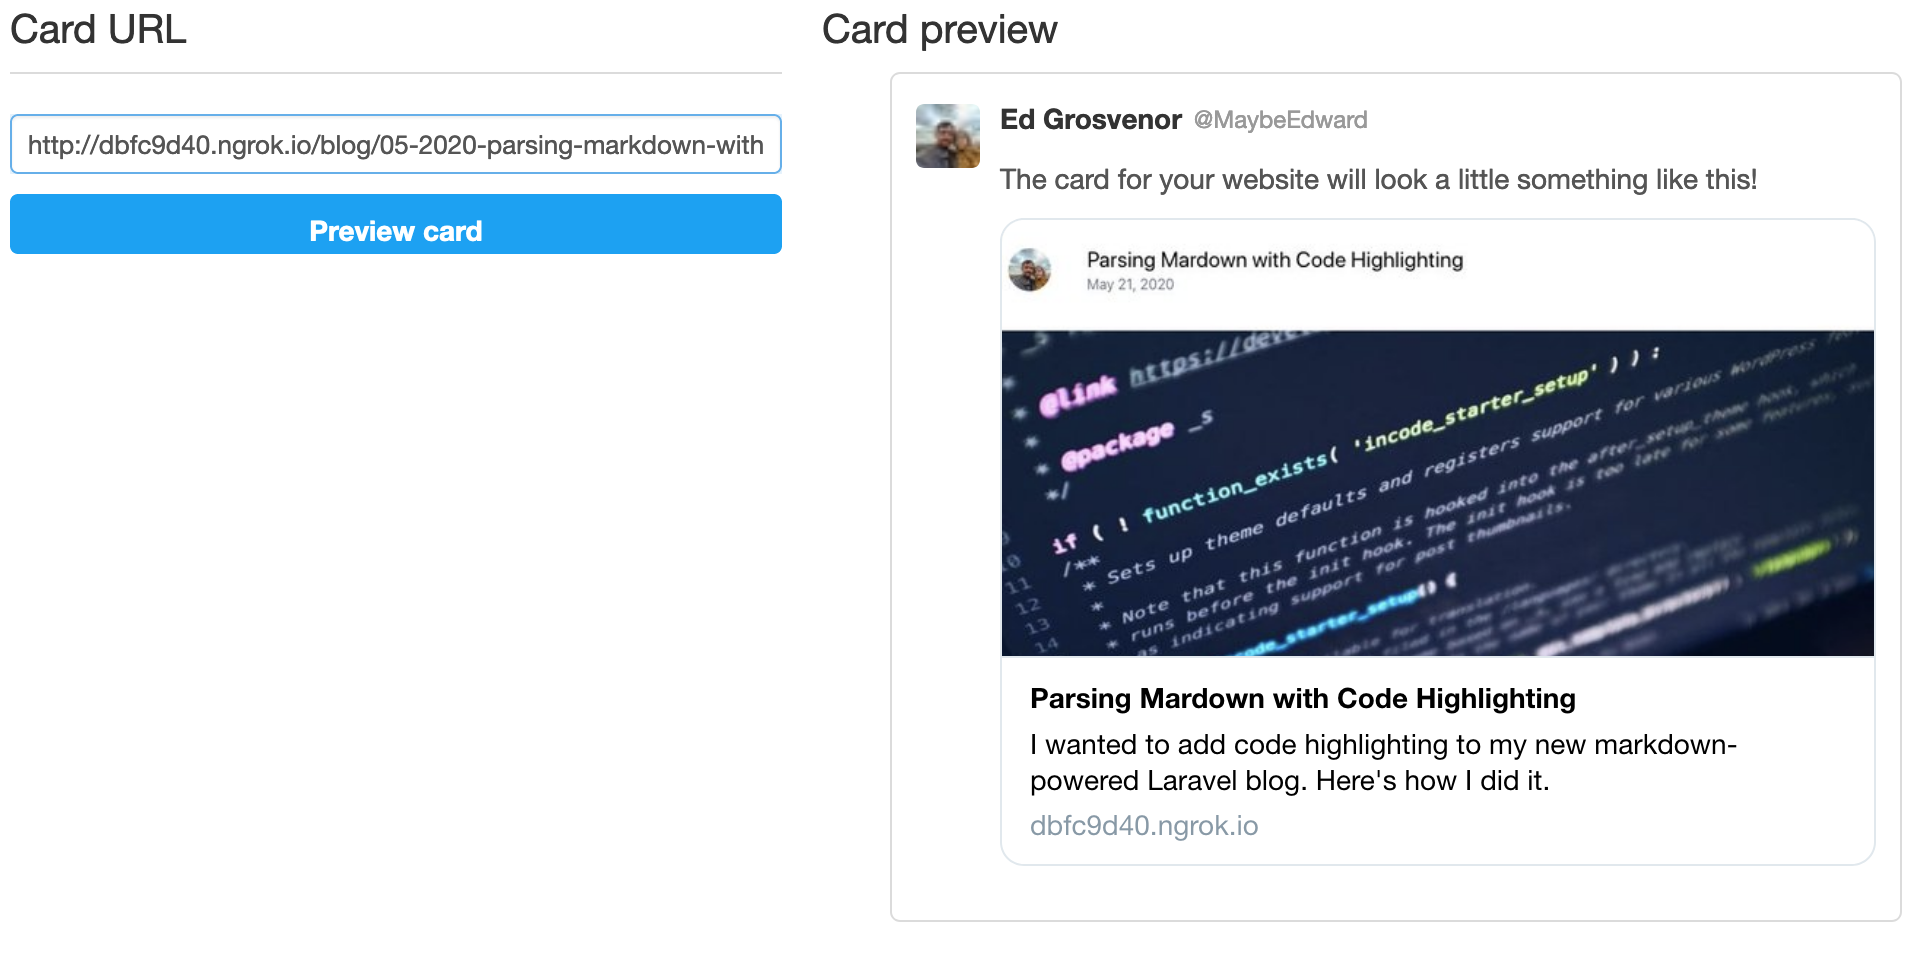
All that's left is for me to verify that the card looks right, which I can do easily by copying and pasting the ngrok version of my local site into the Twitter Card Validator.
Relevant Files on This Site's Repo
To help you see exactly how I did this, here are the files that you should check out:
Did you find a mistake? Have something to add? This article is on GitHub. Send me a PR!